Close
Page 13 of 20 FirstFirst ... 389101112131415161718 ... LastLast
Results 121 to 130 of 195

Hybrid View

Previous Post Previous Post   Next Post Next Post
  1. #1
    Rails against Big Carrot JohnnyEgo's Avatar
    Join Date
    Sep 2011
    Location
    Greeley, CO
    Posts
    1,371

    Default

    The last few weeks, my free time has been consumed by getting my son through 5th grade math with a C this quarter, which has taken a crowbar, dynamite, and the grace of god. But he C-minused his way through the mixed fraction addition today, which helped him maintain the razor-thin lead on a 70.9%. Never have I worked so hard or been so happy for any grade of my own as for this C.
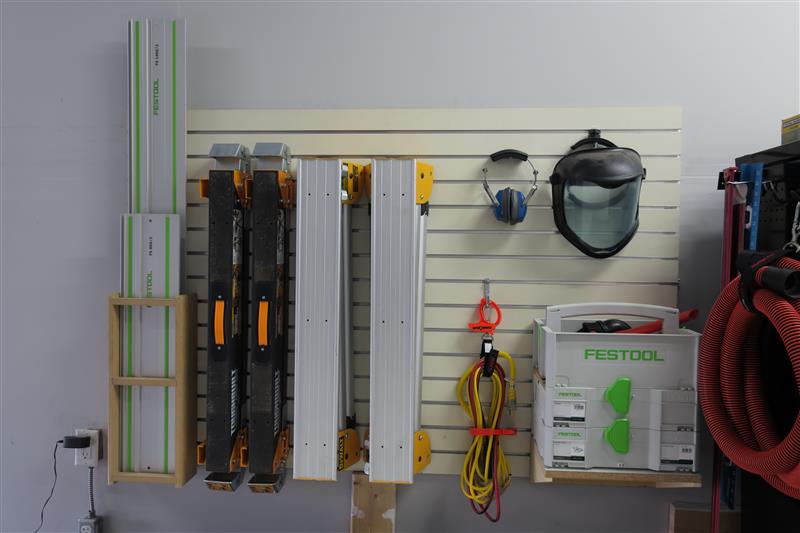
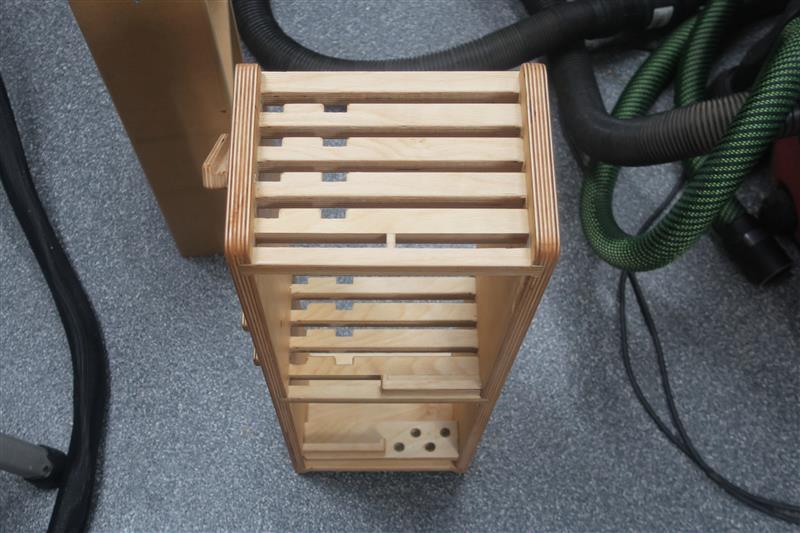
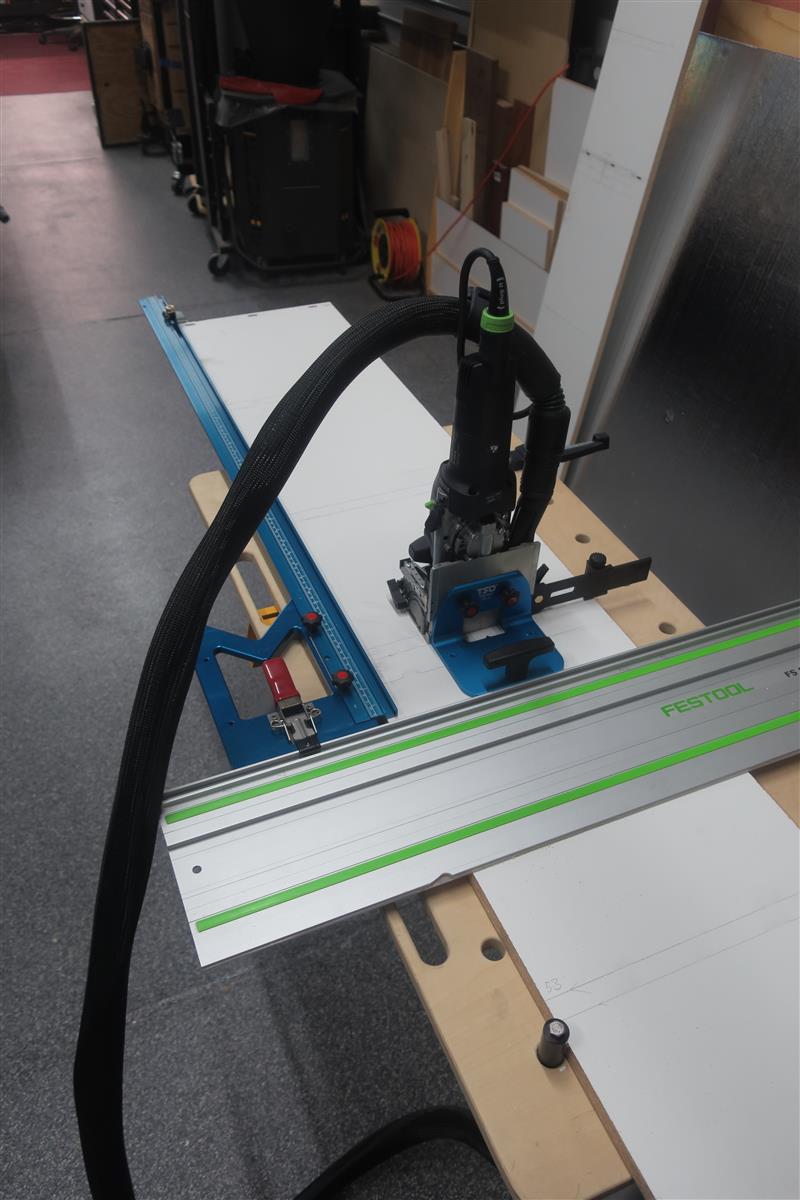
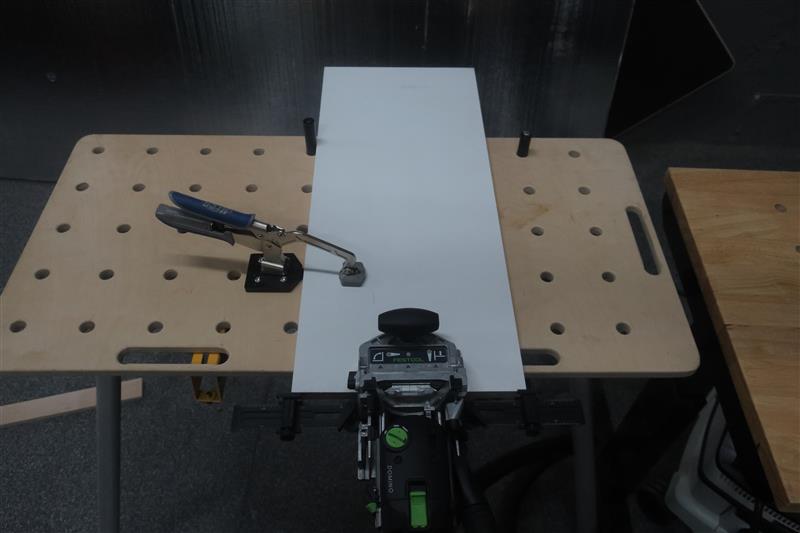
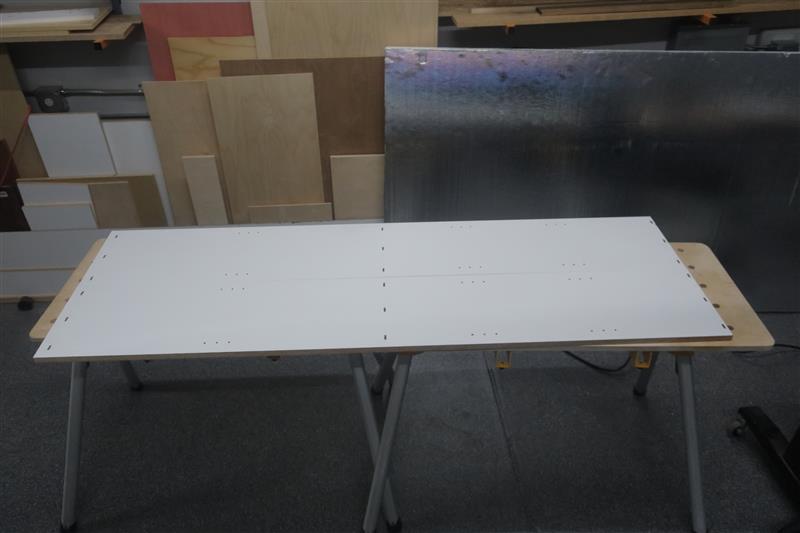
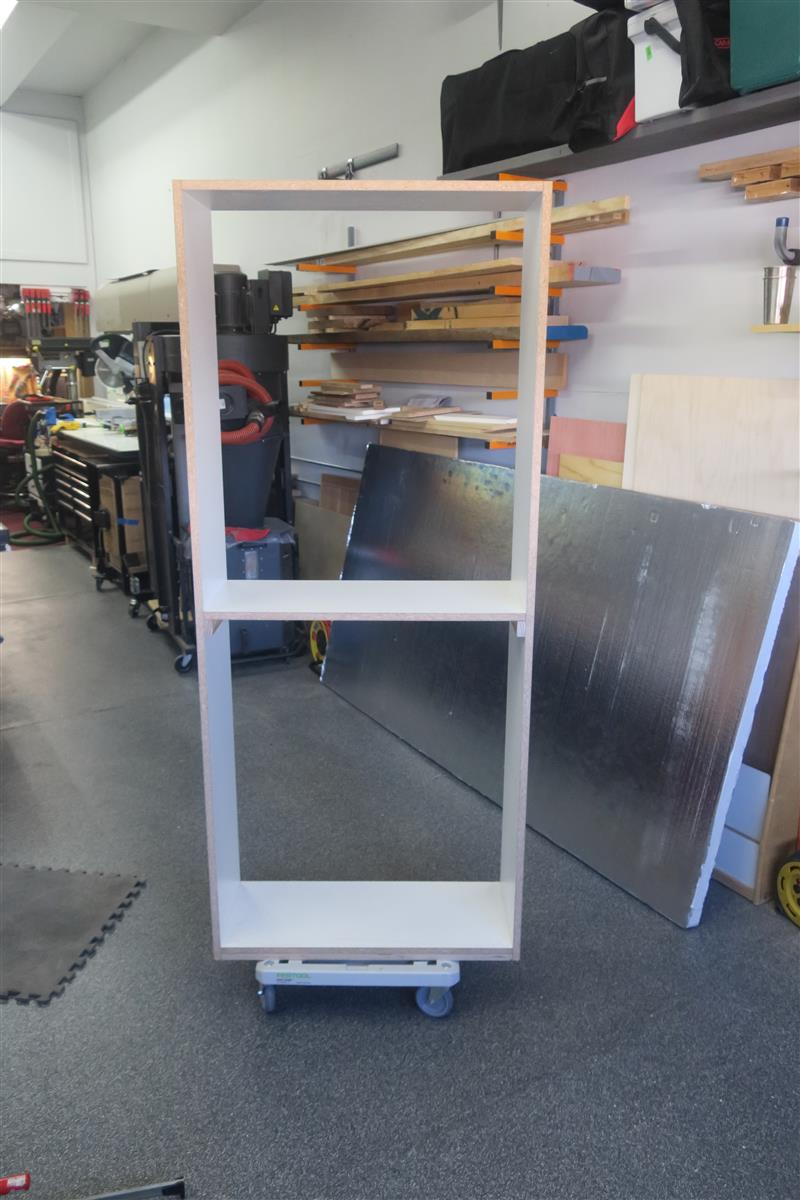
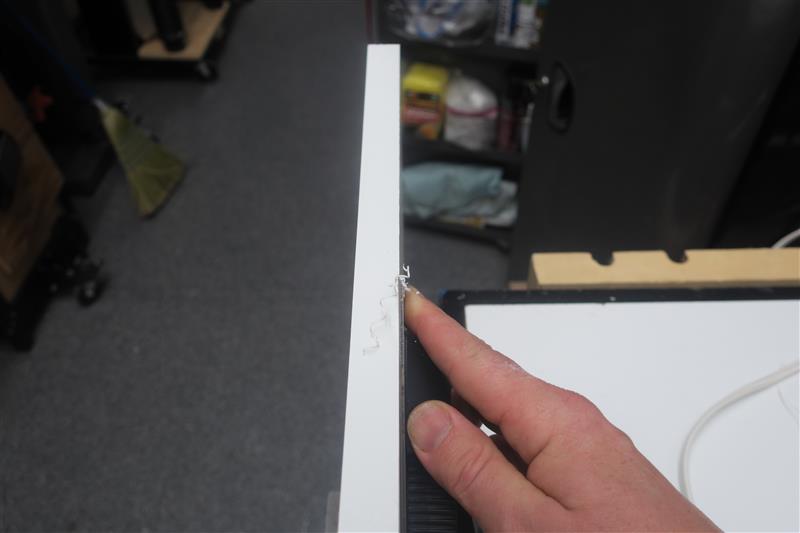
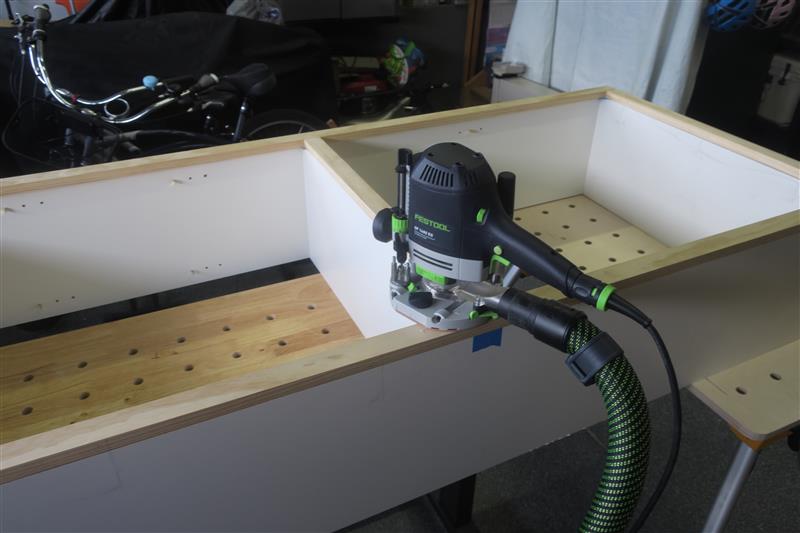
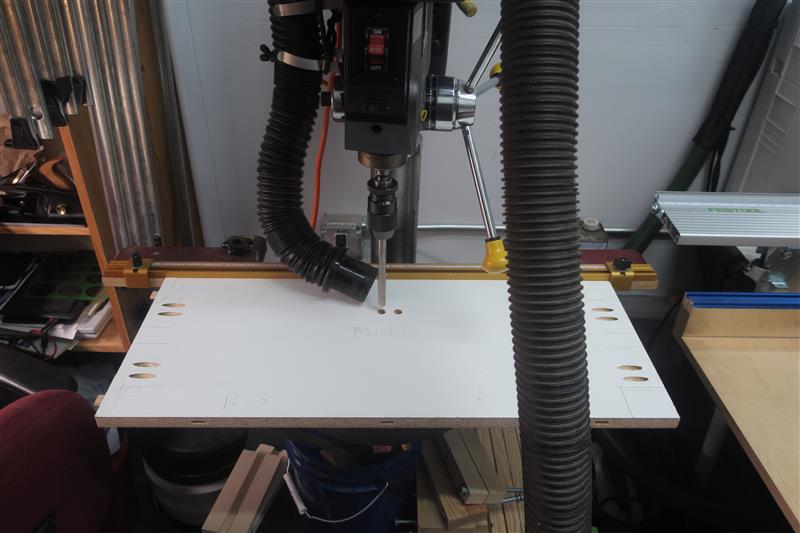
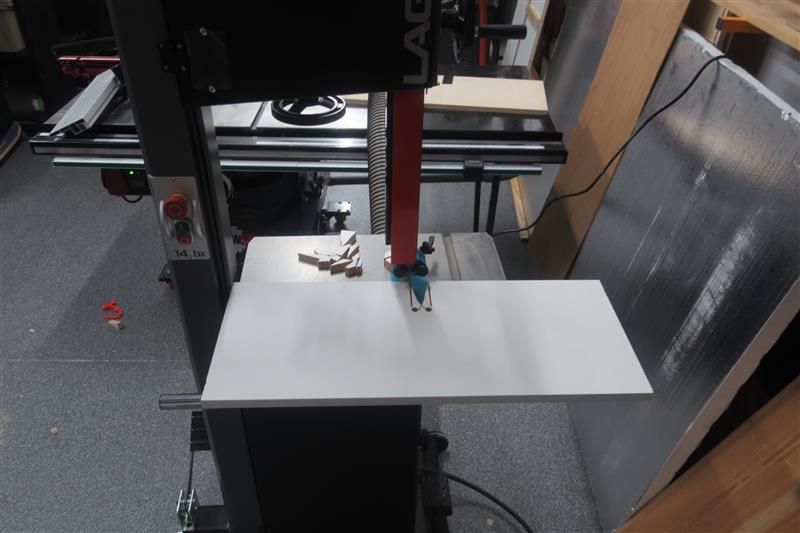
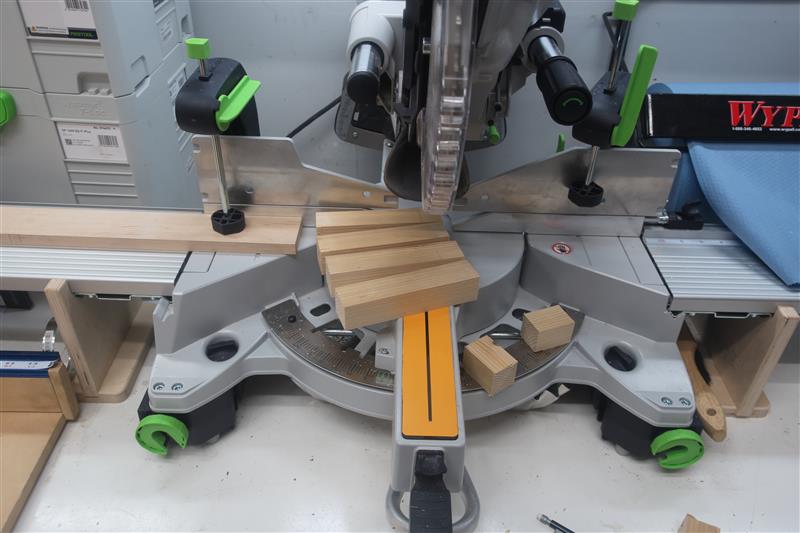
    But I digress. Progress has been limited, and also distracted by some other things, but the project has at least progressed. What is left is a lot of chisel work. Most of it is easy but tedious. However, notching the carcass for the dust panels was actually tedious but critical, and a mistake here would waste a substantial amount of wood and effort.

    Well, nothing to it but to do it. Out came a couple chisels:


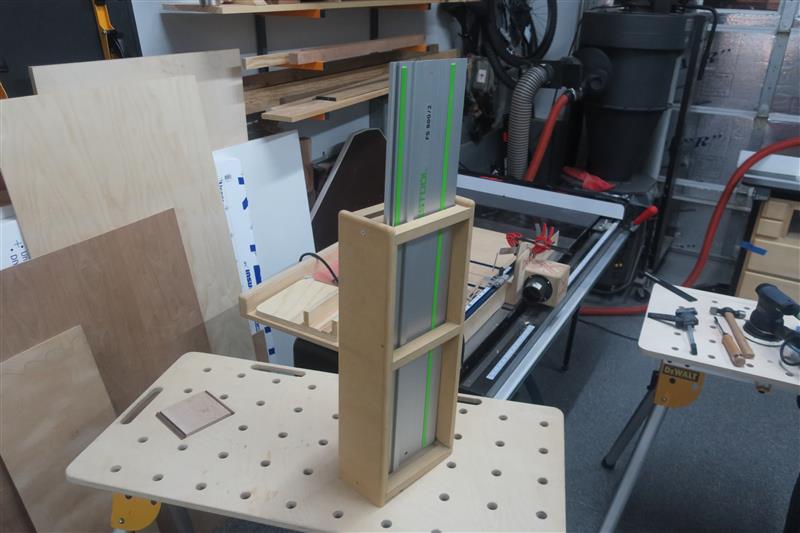
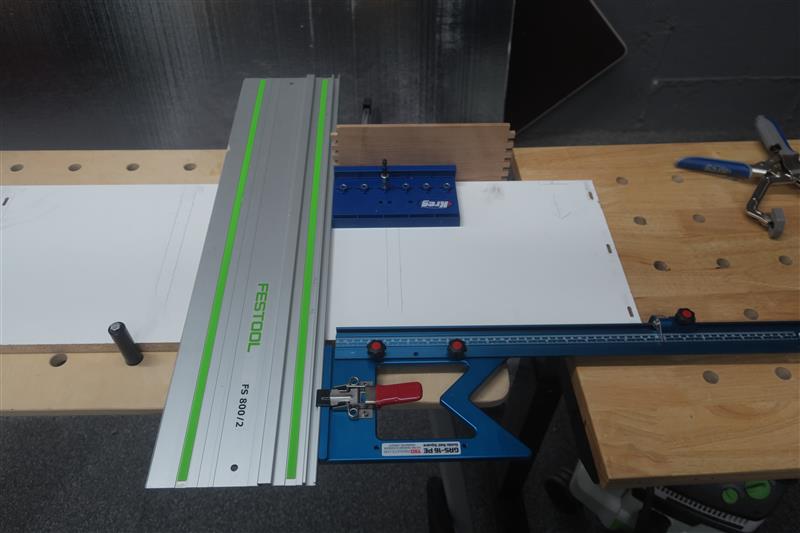
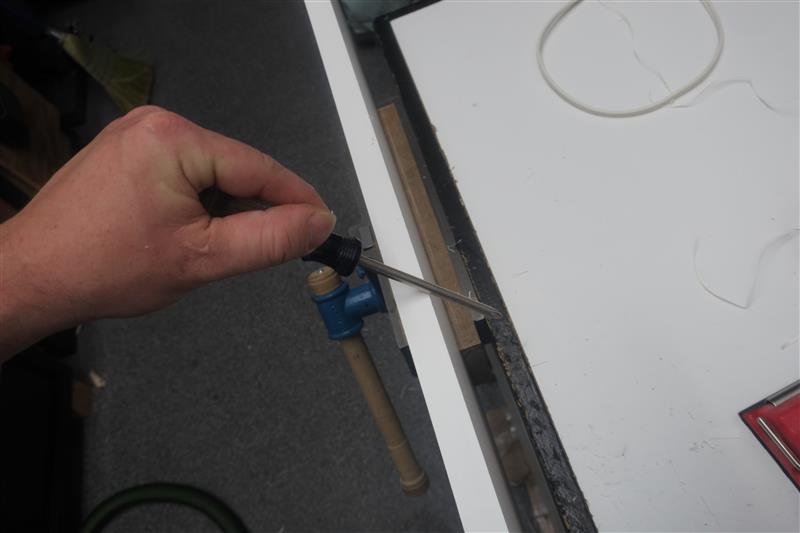
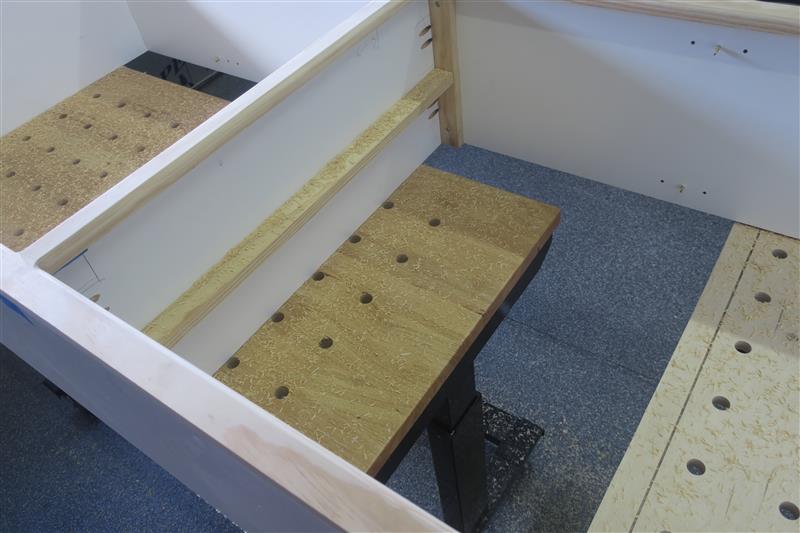
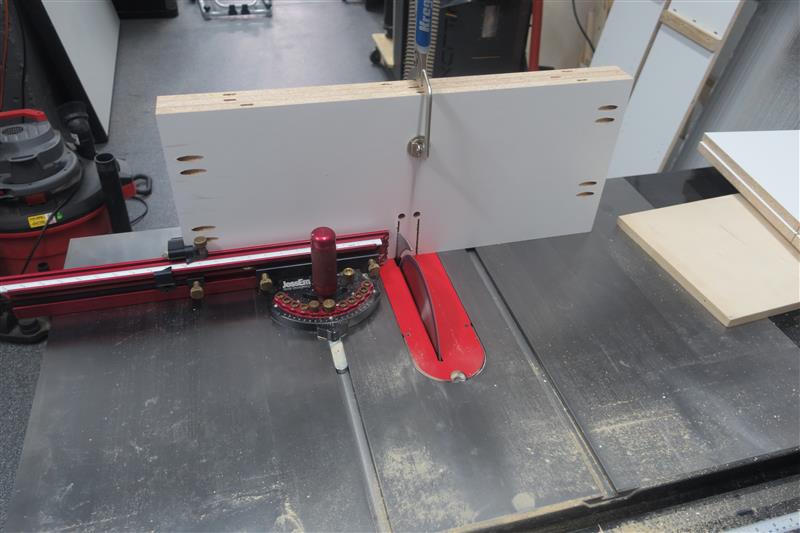
    Had to carefully square up the router-made dado slot with the bead, which was fairly delicate with this much carved out of it.


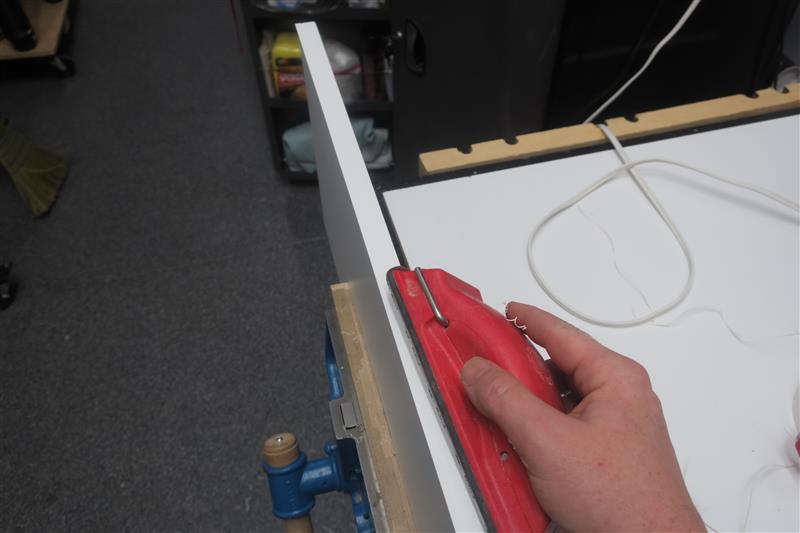
    Then came slowly carving away at the bead with my little jig until I had clean-ish 45 degree miters without blowing out the case.


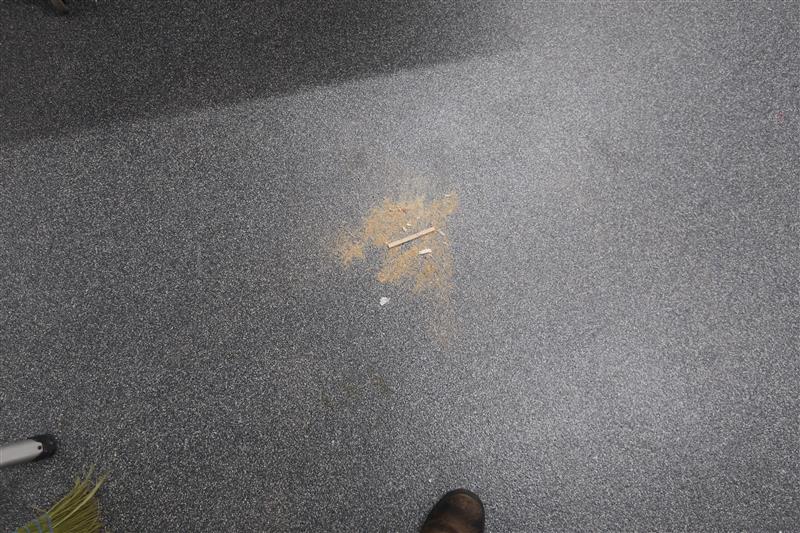
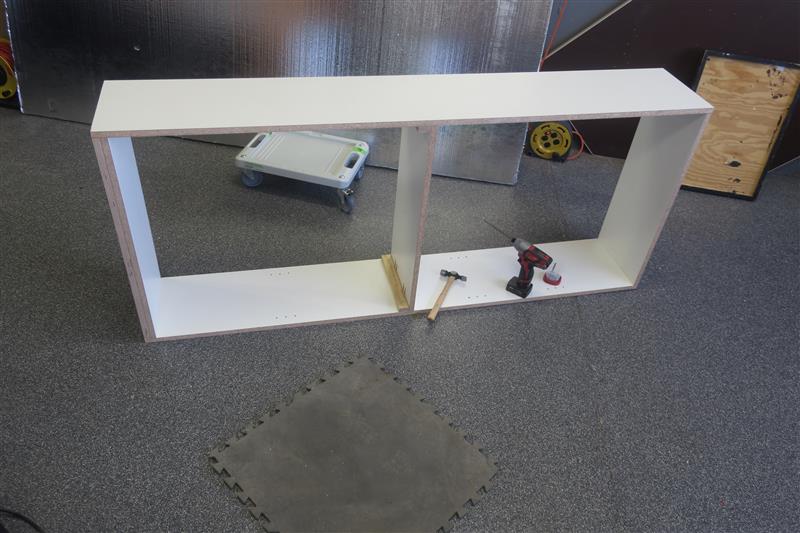
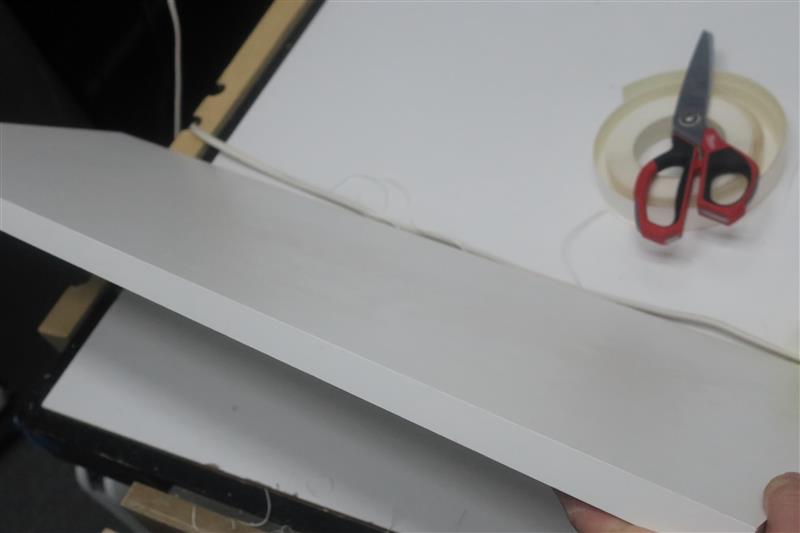
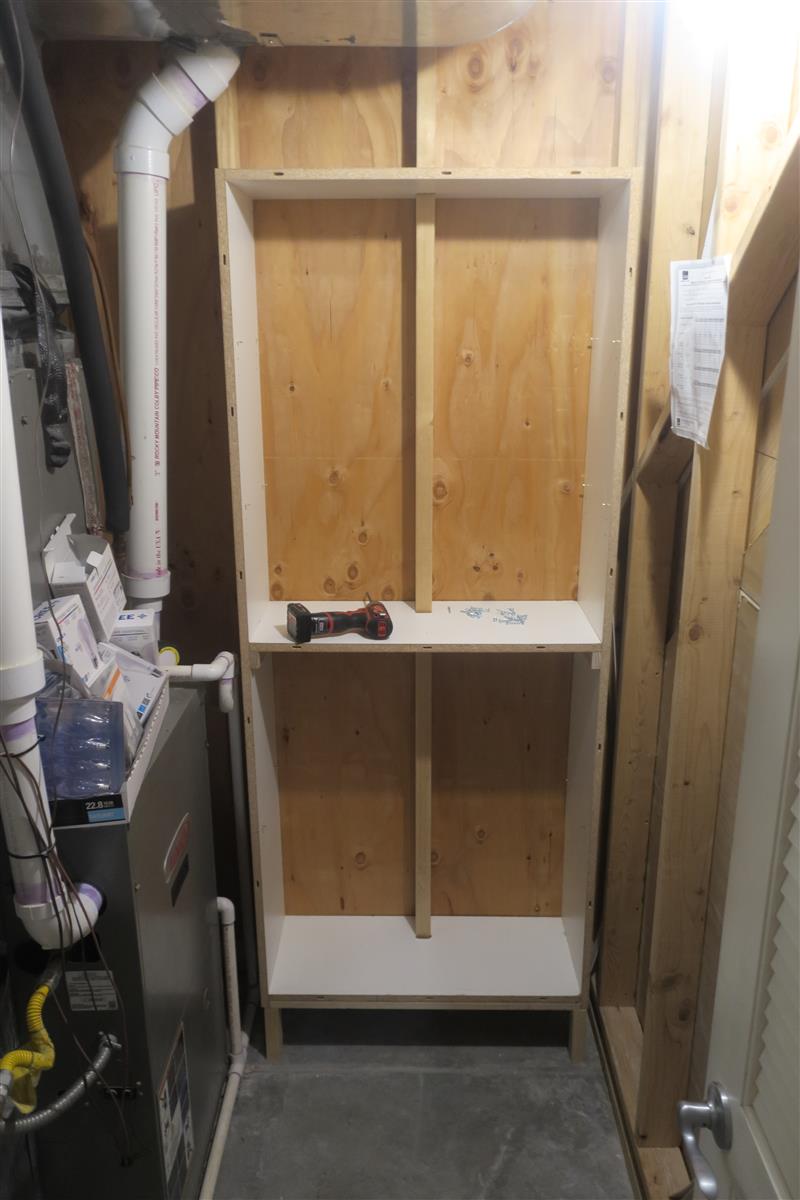
    Test fit looked good. Nothing glue and sawdust wouldn't conceal.
    Math is tough. Let's go shopping!

  2. #2
    Rails against Big Carrot JohnnyEgo's Avatar
    Join Date
    Sep 2011
    Location
    Greeley, CO
    Posts
    1,371

    Default

    Got a pile of parts sitting here.


    Had to do a little tuning of the dust panels to make sure they end up relatively flush with the front and back panels.


    Dry-fit the panels:


    Carcass is now about 60% complete.


    What remains is fitting the dividers for each box, and the chisel work associated with the vertical beading. It isn't hard, and if I screw it up bad, it's easy to replace. But it will be very tedious to do 18 times, and each piece has to be fitted to allow the drawers to slide freely while still appearing vertically aligned and with reasonably decent panel gaps.
    Math is tough. Let's go shopping!

  3. #3
    QUITTER Irving's Avatar
    Join Date
    Nov 2008
    Location
    Denver, CO
    Posts
    46,527
    Blog Entries
    1

    Default

    I want to smoke a pie. I ran my smoker, in the sun, today at full blast and could only get it to 275. Every recipe I see calls for between 350 to 375 (I feel like one was even 450!). I need to do something. The short of it is that I just cut a plate to fit on one of the racks so I can cut my space in half.

    Here is my Master Forge smoker that I picked up at a garage sale for $75.


    At least a year ago, maybe two, I ordered another thermometer. My plan was to install it on the side, about half way up.


    As usual, I forget that when welding very thin metal (22ga), especially to thicker metal (1/4"), you can't just run a bead. So of course I blew right through. You have to spot weld. Maybe someone can do it, but I can't. Pictured is after I blasted through on the right side, then patched it back up.


    I ground it down, then welded a tiny plate on the back just to plug the hole.


    The plate isn't anything special. Just a 1/8" sheet of diamond plate that has about 1/2" on the sides, and a full 1" on the back of a gap between the plate and the wall.


    It's working though. With just the lower temp gauge, I was able to get the gauges to read 265 on top, and 340 in the middle after only about 10 minutes.

    When I put the plate in and opened the door for the picture, the top gauge dropped to 200, and the bottom dropped to 325. I've been measuring the temp every 5 minutes and got as follows.
    Time -- Top -- Middle
    7:00 -- 200 -- 325
    7:05 -- 200 -- 380
    7:11 -- 210 -- 386
    7:15 -- 210 -- 386

    Now I closed one side vent
    7:20 -- 215 -- 396
    7:25 -- 220 -- 396

    Then I closed the other side vent
    7:31 -- 225 -- 405
    7:38 -- 230 -- 410

    It's a success.
    Last edited by Irving; 12-26-2020 at 20:43.

  4. #4
    QUITTER Irving's Avatar
    Join Date
    Nov 2008
    Location
    Denver, CO
    Posts
    46,527
    Blog Entries
    1

    Default

    After messing around the drilling through this 1/4" plate, I realized that I could have just used the step bit and drilled out the side of the smoker and been done in 5 minutes. I like welding and practicing though, so now it's welded on there. At least I didn't weld the nut onto the stove like I originally planned. I thawed the pie, then read the directions that said you should cook it at 350 from frozen. So now I'm refreezing the pie to cook it in about 15 minutes. I'm sure it's going to be a big mess, but oh well. Can't wait!

    You can see in my second photo that I made a rack for the wood chips out of a garden trellis I had laying around. If I don't at least double up my aluminum boat, it burns through and dumps all the wood chips directly onto the burner. I have an oval piece of 1/4" from a wood stove I got on here that fits right into the holder. I don't know if that is too thick to start the wood smoking or not though. I guess that will be my next experiment. I'd kind of like to weld up a little box out of something like 18 gauge, but I don't have anything like that on hand at the moment. Anyone have any input on that part?
    Last edited by Irving; 12-26-2020 at 20:50.

  5. #5
    Rails against Big Carrot JohnnyEgo's Avatar
    Join Date
    Sep 2011
    Location
    Greeley, CO
    Posts
    1,371

    Default

    Little side-trip the week before Christmas. Small box time once again. Pumped out one for my son's teacher, two for the nephews, one for the niece, one for the neighbor.


    One of the aforementioned upsides about cutting box joints for 13 different boxes for my son's card catalog is that you get pretty good at a thing after 14 times. Box joint set up went quick, tear out was minimal, and the joints were tight with nearly no fill.


    While I was messing around in the shop avoiding the tedious work to come, I decided to rebuild my rail quiver, which has seen better days. It was built out of MDF and lasted almost a decade, so I can't complain too much. But it wasn't terribly space efficient, and now I have more rails.

    Old guy:


    New guy:

    It's built out of Baltic Birch scrap, which should be a little tougher. Made the rail slots much narrower, and made the whole thing a little deeper so I could stick some of the accessories that go with the rails on the side.


    Last edited by JohnnyEgo; 12-31-2020 at 21:39.
    Math is tough. Let's go shopping!

  6. #6
    Rails against Big Carrot JohnnyEgo's Avatar
    Join Date
    Sep 2011
    Location
    Greeley, CO
    Posts
    1,371

    Default

    My wife mentioned she'd like to park her car back in the garage for Christmas, so I went into full shop compactification and clean-up. It will be nice to start the new year with a clean-ish shop.


    New rail quiver doing it's thing.


    The upside of office closures is that I unbolted these cabinets from my office and reattached them to my garage wall, where I find them much more useful. Corporate didn't see this coming when they said we could get anything we needed from the office.


    So nice to see the top of my workbench again:


    Going to start on a new fast project over the next two days; a simple shelf for my furnace room. Then plan to get back on the card catalog on Sunday.

    Math is tough. Let's go shopping!

  7. #7
    Rails against Big Carrot JohnnyEgo's Avatar
    Join Date
    Sep 2011
    Location
    Greeley, CO
    Posts
    1,371

    Default

    Joining all the parts

    Next came time to poke some holes so I could join all these pieces together. I really like pocket holes for this purpose, and if I had used them alone, I would have been done with getting the shelves fixed much faster. However, I have decided that I am going to learn to love my Domino in 2021, whatever it takes. So I punched a bunch of Domino slots into pretty much everything. Used the TSO guides and the back side of my rail as a story stick so that everything ended up in the same place on both shelf sides.


    Used a Kreg 5mm shelf pin jig to give myself about two inches of adjustability on all the shelves that aren't fixed.


    So many poked holes.


    What rocks about the Festool system is that this is the dust that made it to the shop floor for all of these operations:


    I put in a bunch of pocket holes anyways, because I trust them more than small Dominos in particle board.


    Screwed it all together. Bolstered the middle fixed shelf to support some extra weight.


    Cut up some Doug Fir strips to face frame it out on the compound miter. Face frame will give it some more strength and rigidity under load.:


    Math is tough. Let's go shopping!

  8. #8
    Rails against Big Carrot JohnnyEgo's Avatar
    Join Date
    Sep 2011
    Location
    Greeley, CO
    Posts
    1,371

    Default

    Iron-on Edge Banding

    I had planned to trim out all the shelves the same, but it needlessly complicates the adjustable nature of the adjustable shelves, so I decided to edge-band them.

    First step when working with iron-on edging is to wait until your wife is too distracted and then ask where the iron is, when she is unlikely to ask follow-up questions like 'why'. Also, a little pro-tip: using mineral spirits on a hot iron to clean up any hot-melt adhesive residue will result in a very unique smell, a discolored iron, and a wife who will guard the new iron carefully and vigorously interrogate you whenever you ask for it for the next 20+ years.

    Anyways, the kit requirements for doing this are fairly simple. An iron, some scissors, a razor blade or something sharp to trim the excess, and a roller or block of wood to help smooth it out and make sure the glue makes good contact with the particle board.


    Slow and steady pass with the iron:


    Hit it with the roller to make sure everything sticks:


    Trim the excess with a flush plane or razor:


    I don't know if this is a thing you should do, but it's a thing I've always done; burnish the corners by running a screwdriver along the edge at about 45 degrees, with moderate pressure. Breaks the edge a bit.


    Followed up by a quick hit of 220 grit sandpaper, and I get a nice-looking edge that won't cut you or catch on things dragged across it.:


    Math is tough. Let's go shopping!

  9. #9
    Rails against Big Carrot JohnnyEgo's Avatar
    Join Date
    Sep 2011
    Location
    Greeley, CO
    Posts
    1,371

    Default

    Edge routing and finishing:

    Time to soften the edges. I used a 3/8 roundover bit in a handheld router for this. While the dust collection on the Festool tools is pretty good, it does have it's limits. And one of those is inside edge routing around corners. So I knew this part would be messy going in. And it was.


    Not much sanding necessary on this. My weapons of choice are 150 and 220 grit sand paper in some Preppin Weapon sanding blocks, and some adhesive-backed 220 in a rubber curved profile. For these long, narrow, and flat pieces, they were faster and more controlled than a power sander would have been.


    Knocking it all together for a test fit:


    Once it was looking like it was in final form, I knocked it all apart again. I need to notch all the shelves for a stud that runs through my unsheathed utility room walls. Unfortunately, my dado stack didn't have the depth to knock it out in one operation, so I had to improvise a bit. Poked two holes with a half-inch drill bit.


    Then ganged them up and defined the edges of the notch with my table saw blade as high as it could go.


    Then carved out the rest at the bandsaw. Good enough for utility-grade shelving.


    Last thing I needed was some short legs, which I cut out of some 2x scrap:
    Math is tough. Let's go shopping!

  10. #10
    Rails against Big Carrot JohnnyEgo's Avatar
    Join Date
    Sep 2011
    Location
    Greeley, CO
    Posts
    1,371

    Default

    Installation:
    Dragged all the knocked down parts to the basement. I screwed the shelf back together in the hallway, then fit my little platform in the utility room where it is going to live.


    Then I dropped the shelf in place between the studs, and secured it to the platform with pocket-screws from the underside of the base. It also has two screws driven through the studs towards the top to keep it from tipping.


    Fit like a glove. Well, a semi-tight glove, just in case the walls settle or shift. A little glue and the application of the face-frame finished the job.


    This seems so much nicer and less likely to catch fire than the previous jumble we had. I am very content with it. And thus ends my first completed project for 2020!
    Math is tough. Let's go shopping!

Posting Permissions

  • You may not post new threads
  • You may not post replies
  • You may not post attachments
  • You may not edit your posts
  •